In the Garden · Houseplants
Garden for the North Window
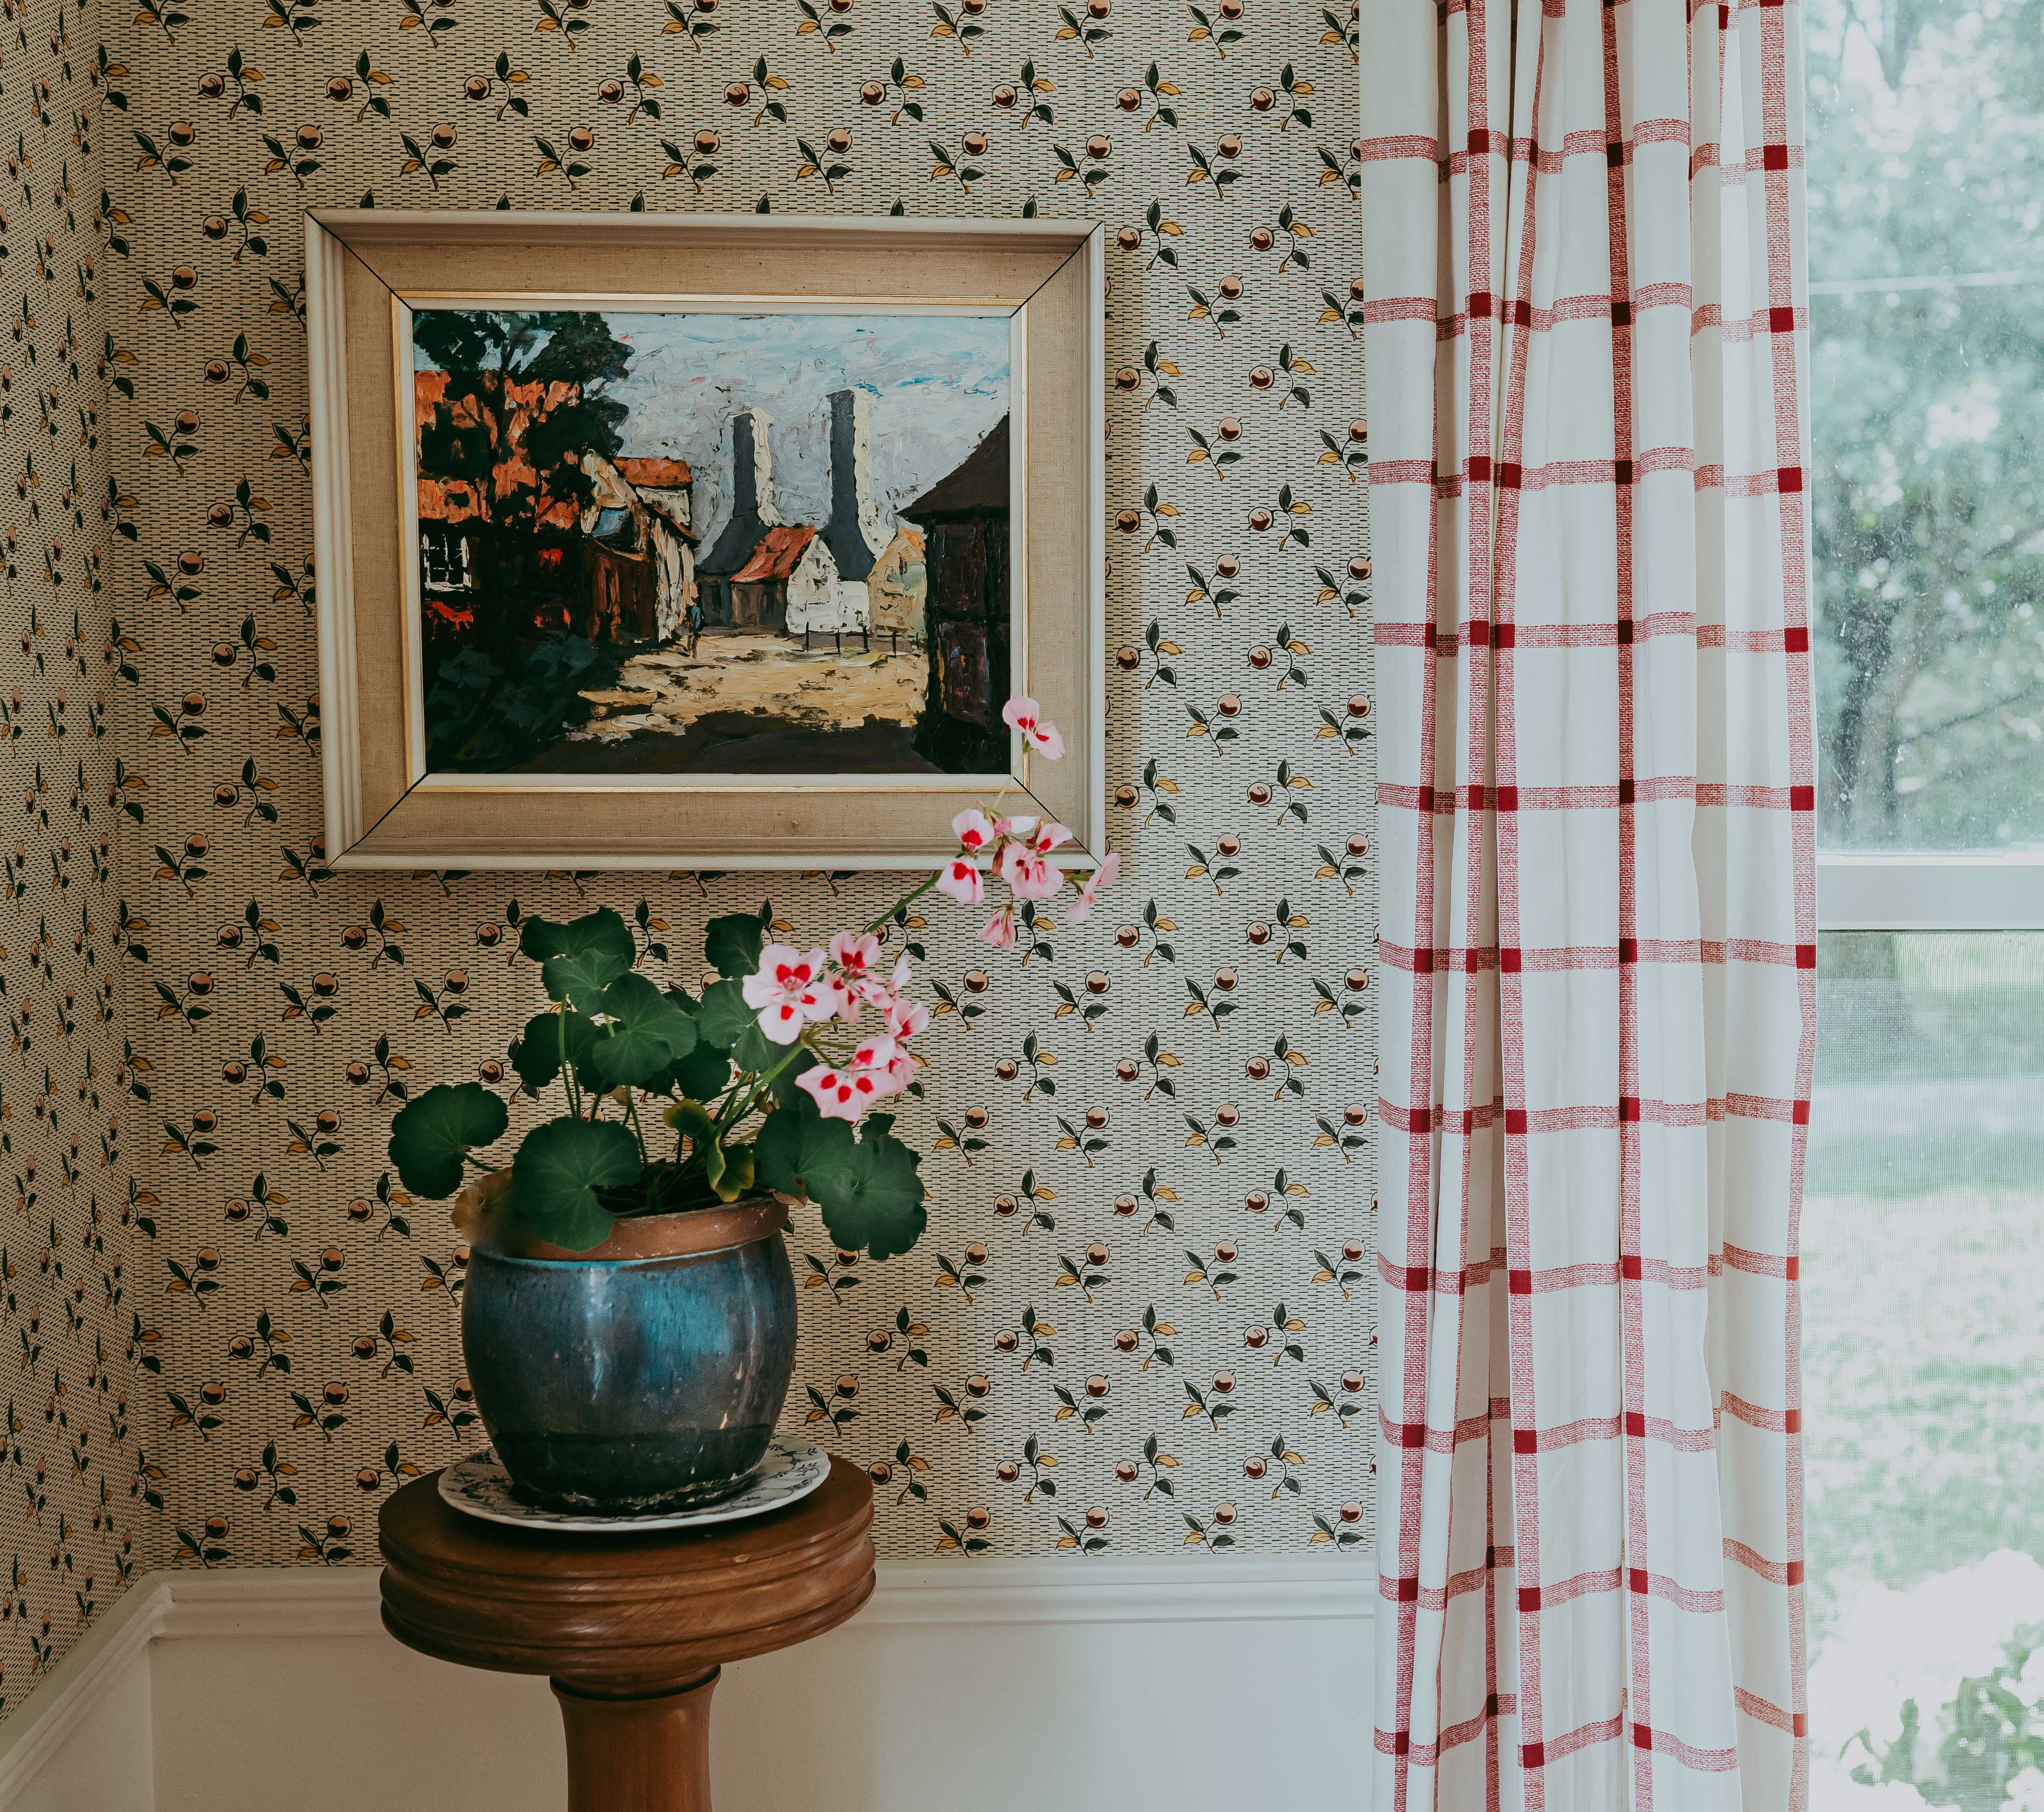
A windowless bathroom, a fluorescent shelf, and the quiet pleasure of plants where you least expect them.
Author · Gardener · Banjo player
A journal of plants, kitchens, seasonal making, and the quieter rituals that gather a home — kept from a small farm in middle Tennessee.
Late tulips finishing, the first sweet pea in flower, lettuce thinking about bolting, and a wreath of dried things still on the kitchen door.
A windowless bathroom, a fluorescent shelf, and the quiet pleasure of plants where you least expect them.
A Friday at the farm shop, a basket of winter goodies, and a simple wreath of dried flowers worth gathering friends for.
A grandmotherly neighbor, hot cocoa on the kitchen table, and a quiet December afternoon making nature-inspired ornaments.
Roadside roses, Tennessee light, and the pleasure of noticing what is already growing at the edges of a place.
Branches, evergreens, and a few quiet finds from the garden, gathered into a winter table that feels gently made.
A kitchen garden can be useful and beautiful at once, with herbs, vegetables, and flowers all sharing the same ground.

By the writer
I write from a small 46-acre farm in middle Tennessee, where I keep a garden, raise a family, and notice the seasons one window at a time. The journal is the slow record of all of it.
AuthorGardenerBanjo player
xo
A seasonal letter
Posted at the turn of each season. Garden notes, a recipe, a small reading list, and whatever else is in flower. No advertising, no urgency.
In the Garden
Garden writing that feels practical, atmospheric, and deeply lived-in.
Browse the gardenFrom the Kitchen
Garden writing that treats abundance, utility, and romance as part of the same plot.
Browse kitchen piecesSeasonal Making
Projects and seasonal rituals that make the house feel tuned to the changing year.
Browse seasonal piecesPlant Lore
Essays and stories that give the archive its library-shelf feeling.
Browse plant lore